In this section, you’ll learn how to set up and calibrate the Tool Center Point (TCP) for your robot in RoboDK. Watch the video below for a step-by-step guide, and refer to the detailed instructions provided afterward to ensure accurate calibration and configuration of your tool.
Set Up the Tool #
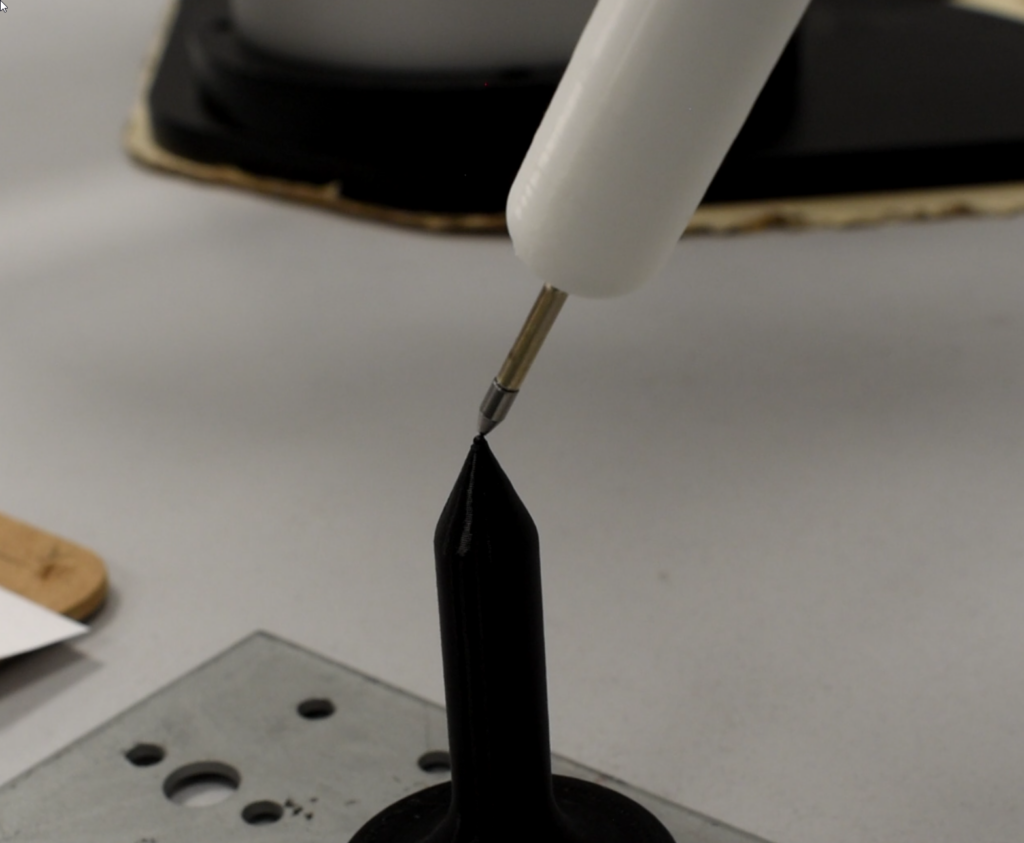
Mount your tool (e.g., a pin or any other tip) on the robot. In this example, a spring-loaded pen inside a 3D-printed cover is used.
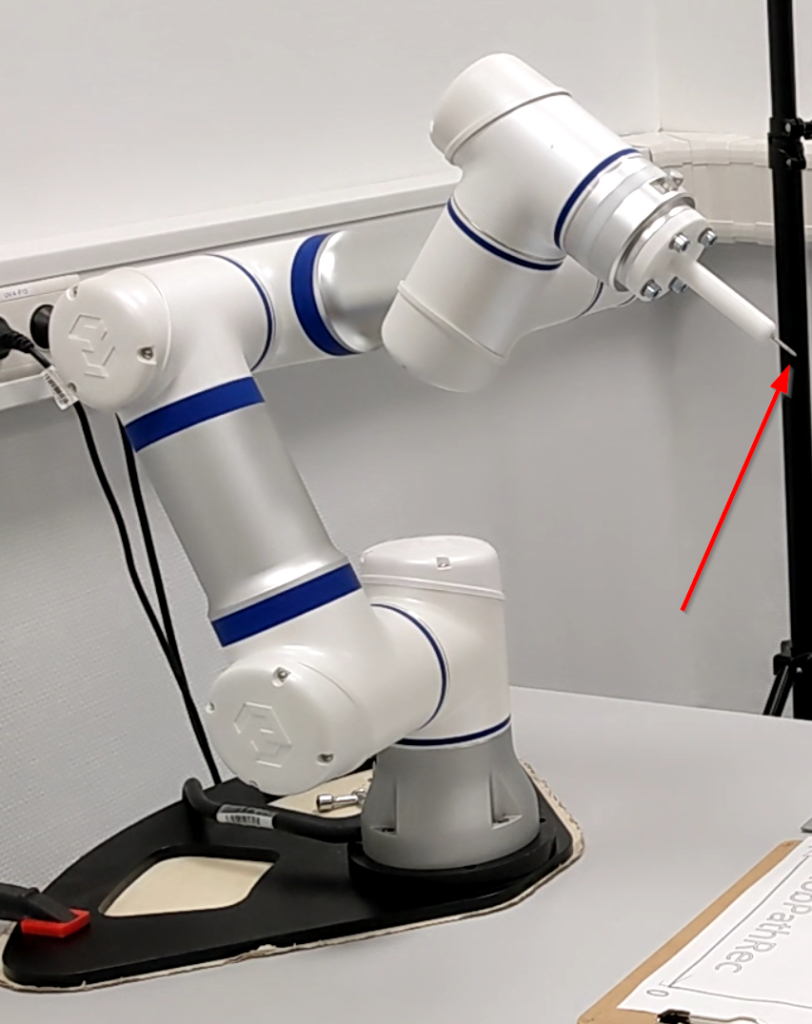
Ensure the tool is securely attached and ready for calibration.
Select the Tool in RoboDK #
In RoboDK, select the correct tool by clicking on the robot and confirming that the tool is active.

Right-click on the tool and select “Define TCP” from the options, or use the “Define TCP” option from the menu.

Choose Calibration Method #
Ensure the correct calibration method is selected (using robot joints). Make sure that the correct tool, frame, and robot are active. For better accuracy, use a higher number of positions (e.g., 10). However, a minimum of 4 positions is required for calibration.

Connect to the Robot #
If you are controlling the robot remotely, connect RoboDK to the robot via TCP/IP.

Ensure remote control is enabled and the robot’s IP address is correctly configured in the RoboDK settings.
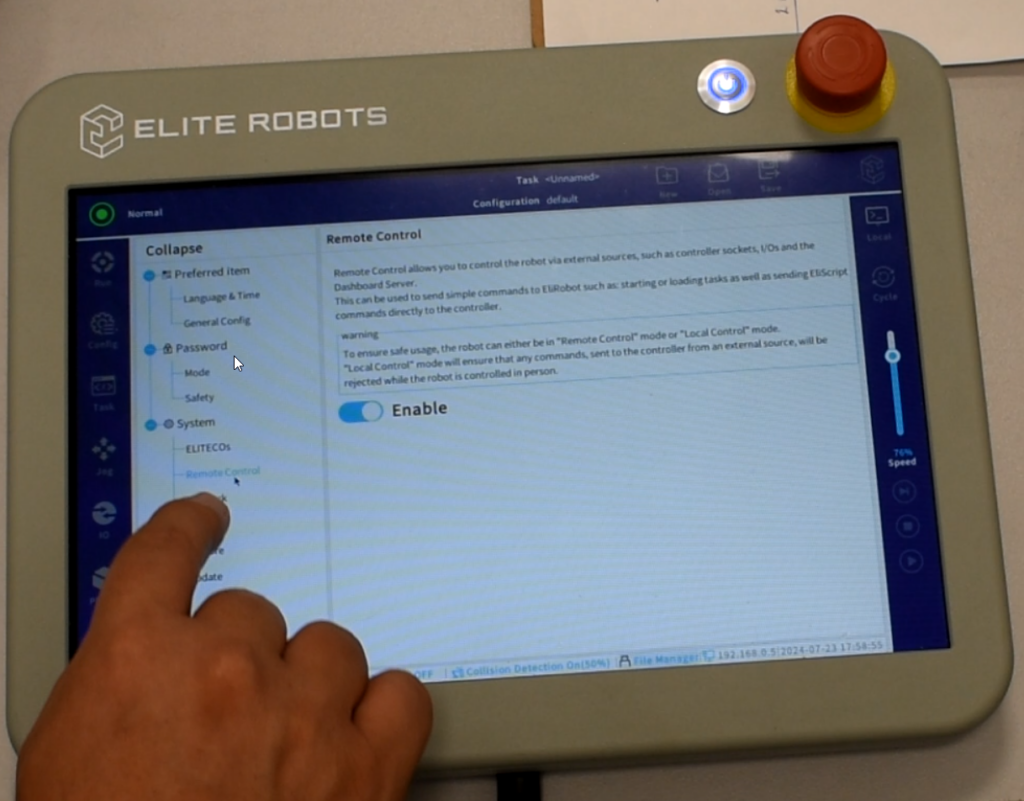
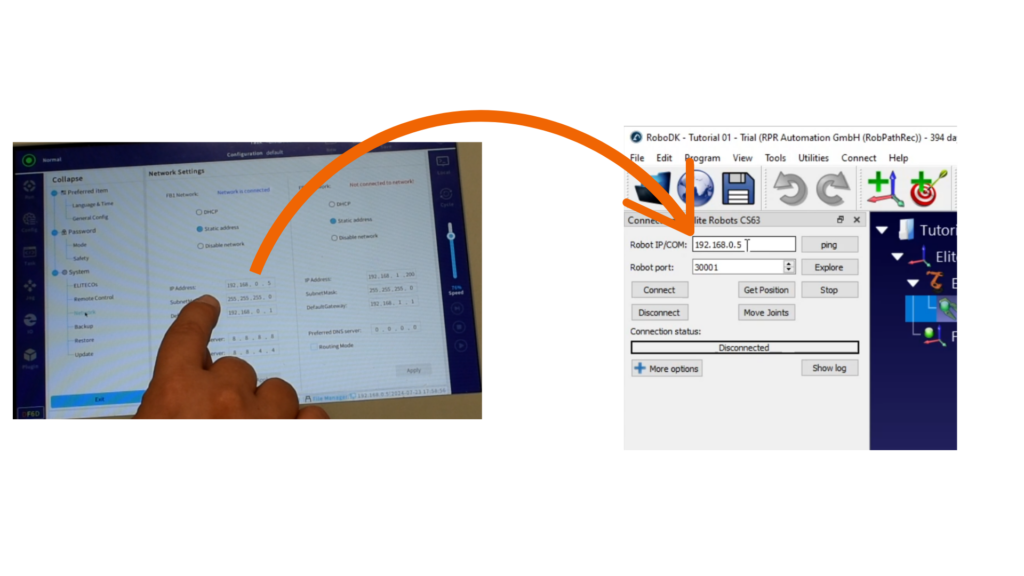
You should refer to your device manufacturer’s user manual for the exact specifications of the TCP/IP connection and FTP settings. The FTP settings can be configured here for convenient data transfer:

Calibrate the Tool TCP #
Move the robot to a starting position using free ride mode and jog mode.
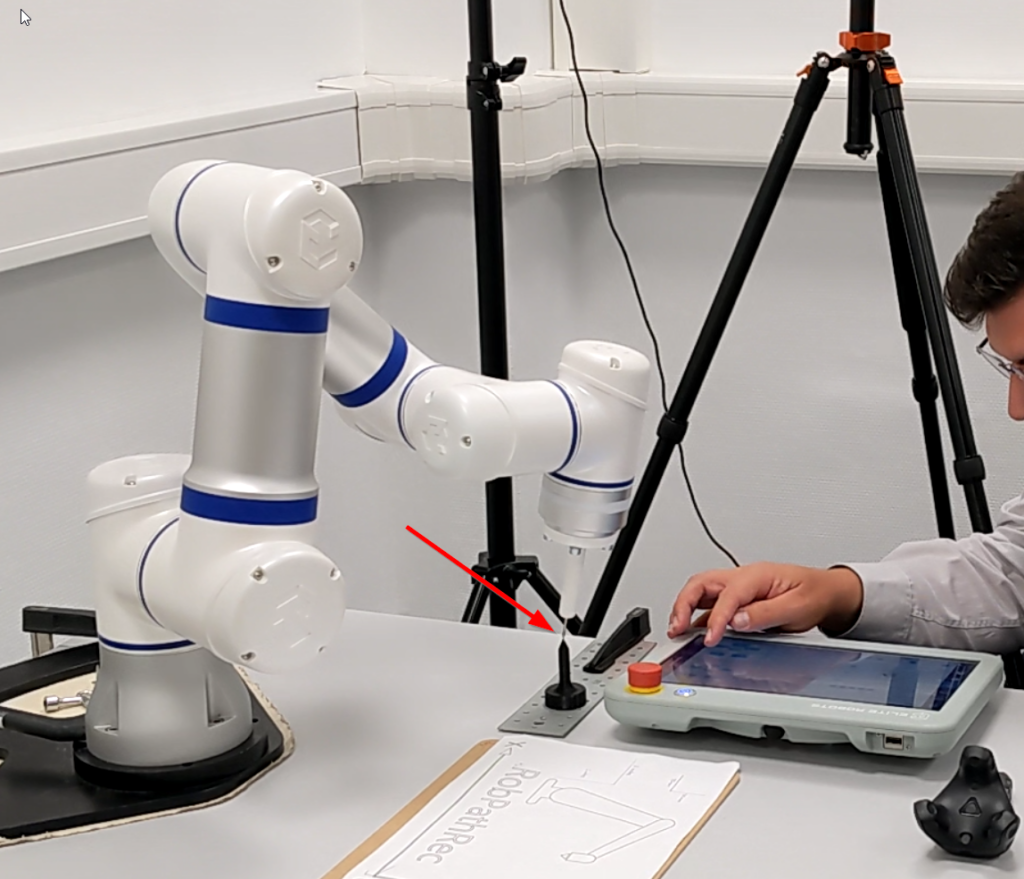
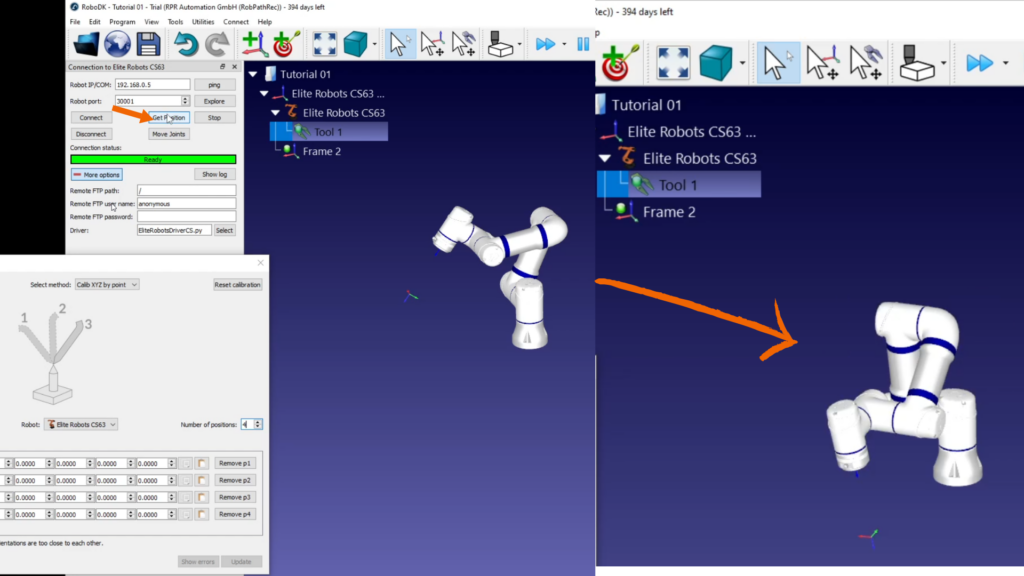
Capture the first position of the robot by clicking “Get Position” in RoboDK. This will transfer the robot’s current position to RoboDK.
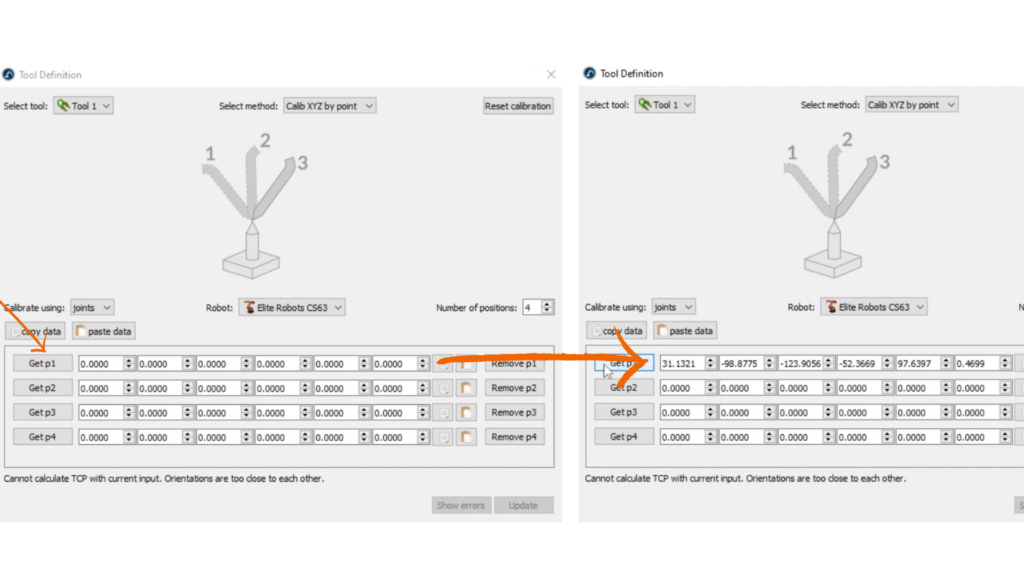
Once the robot position was updated on the screen, hit “Get P1” to apply the robot joint values in RoboDK.
If the robot is not connected, manually enter the joint values from the robot’s teach panel into RoboDK.
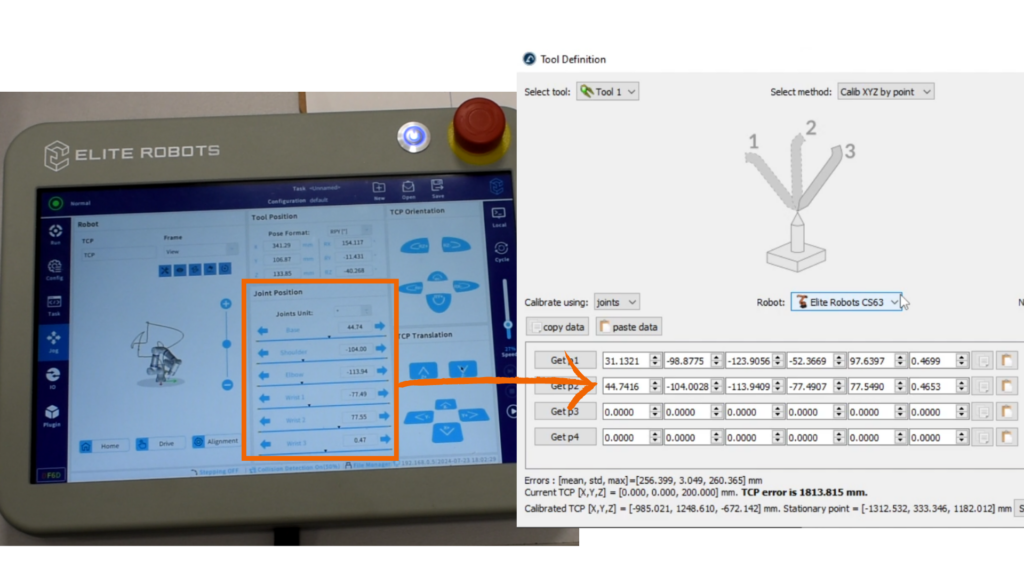
Repeat this process for at least 4 different positions to define the tool TCP. Each time, capture the position using “Get Position” in RoboDK.

Review TCP Calibration #
After capturing all positions, RoboDK will calculate the TCP error and provide the results.
Review the calculated TCP coordinates (X, Y, Z). In this example, a slight error in the Y-axis (1.4) was observed, but overall the calibration was successful.
If necessary, manually adjust the coordinates for more accuracy.
Save the Tool TCP #
Once the tool TCP is defined, click “Save” to store the new TCP configuration.
Move the robot back to a neutral position, and the tool is ready for use in your project.


