To use RoboDK with Easy Automator, follow these steps to download the software and activate your RoboDK license.
 and select your preferred language.
Download RoboDK #
Step 1: Visit RoboDK’s Website #
To begin, navigate to robodk.com. Once you’re on the website, head over to the Download section. Here, you’ll find different versions of RoboDK available for various operating systems.
Step 2: Choose the Windows Version #
Since the Easy Automator app is specifically designed for Windows, you’ll need to download the Windows version of RoboDK. You should opt for the 64-bit version to ensure full compatibility with your system and Easy Automator.
Step 3: Download RoboDK #
After selecting the correct version of RoboDK, download the installation file to your computer. RoboDK is essential for visualizing, modifying, and exporting your robot programs, so be sure to follow the installation instructions provided by RoboDK.
Getting Your RoboDK License #
If you have purchased a RoboDK license through the Easy Automator store, here’s how you can activate it:
Step 1: Purchase a License #
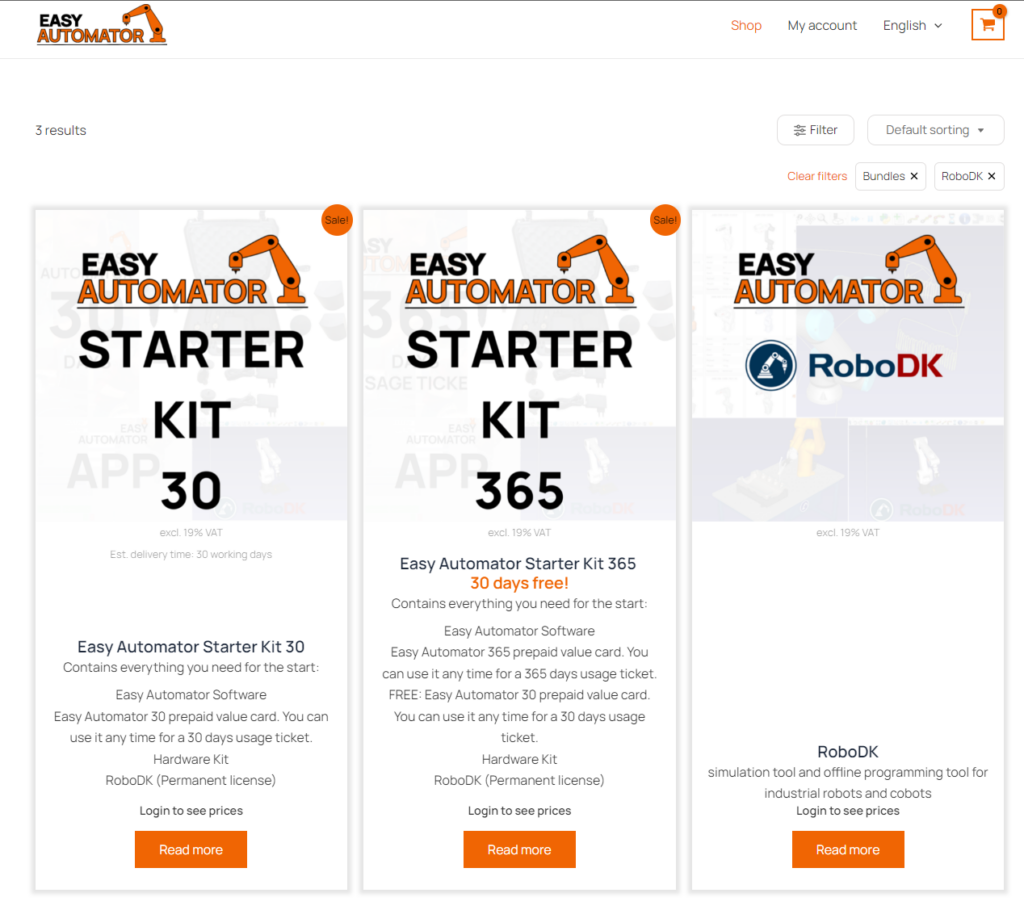
You can either purchase a standalone RoboDK license or get it as part of the Starter Kit from the Easy Automator store. Once your purchase is completed, we will provide you with a license number or license code.

Step 2: Activate Your License #
After receiving your license information, open your installed copy of RoboDK. Navigate to the License section in the application, and enter the license number or code provided to you. Once entered, RoboDK will unlock all the features of the Professional License, allowing you to take full advantage of the software.


