In this lesson, you’ll learn how to set up the virtual reality (VR) environment for Easy Automator, using laser boxes to track the robot’s movements accurately. This setup is crucial for teaching and recording robot tasks in a precise and repeatable manner. In the following video, you’ll see how to set up the VR environment, followed by a detailed step-by-step guide to help you through the process.
Unpack and Place the Base Stations (Laser Boxes) #
In your starter kit, you’ll find two base stations (laser boxes). These base stations are essential for tracking the movements of your robot. Additionally, you find 2 magnetic plates and 2 ball heads as well to be able to position the laser boxes easily. We recommend you to use a more solid and rigid carrier for the magnetic feet. The laser boxes have 2 scanners inside, they result in a slight vibration. The vibration can negative influence the recording accuracy. With a massive underground (e.g. steel beams) the vibration can be reduced.
Alternatively, you can use tripods, used for photography, to mount the base stations.

Position the laser boxes at different heights around your working area. One should be slightly higher than the other to cover a broader range.

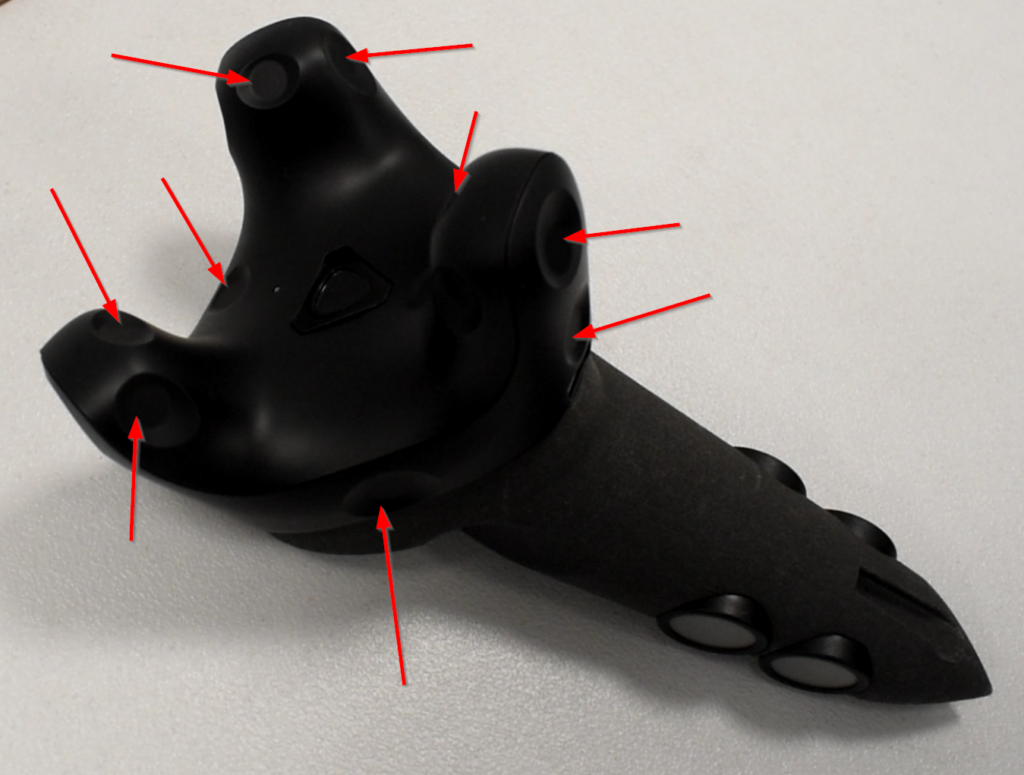
Make sure the laser beams have a clear line of sight to the tracker on the teach pen. The tracker contains photodiodes that detect the laser beams, enabling precise tracking.
Avoid Interference #
Keep the laser boxes clean and free from dust or any obstructions. If the surface of the laser boxes becomes dirty, the laser beams will not work properly.
Avoid placing highly reflective materials, such as polished metal or plexiglass, near the laser boxes. These materials can cause inaccuracies in the tracking system.
Download and Install Steam VR #
If you haven’t already, download the Easy Automator installation file, which comes in a zip format.
Unzip the file and run the EXE installer. This will copy all necessary files to your hard drive.
After installation, open SteamVR from your start menu (or Quick Launch if you’ve added it there). You will also find Easy Automator listed in the start menu.
Install and Connect the USB Dongle #
Ensure the USB dongle from your starter kit is plugged into your computer. This dongle is paired with the tracker and is necessary for proper tracking. If you lose the USB dongle, you will need to purchase a new tracker and dongle pair.

Once you plug in the USB dongle, the installation of the VR device should occur automatically. If this is not the case, please check out the following.
What to do if the tracker will not be recognized? What to do if the SteamVR does not install the drivers? #
In some cases, we experienced some issues with the installation of the VR device drivers. Without this, you will not be able to use the Easy Automator Kit.
Check out the minimum requirements of SteamVR #
- OS *: Windows 7 SP1, Windows 8.1 or later, Windows 10.
- Processor: Intel Core i5-4590/AMD FX 8350 equivalent or better.
- Memory: 4 GB RAM.
- Graphics: NVIDIA GeForce GTX 970, AMD Radeon R9 290 equivalent or better.
- Network: Broadband Internet connection.
- VR Support: SteamVR.
Official notes about the minimum requirements of SteamVR.
In the most cases, if there are issues with the driver installation, it depends on the graphic card, which does not fulfill the minimum requirements. Please note that normal “office” laptops used to have an integrated graphic card which is NOT VR READY. All the video cards, are capable of running VR are remarked with “VR Ready”. If you’re still in doubt, please contact your system administrator or an IT store.
Remove old USB devices #
If a used PC is used for the Easy Automator app, it can happen, that earlier USB device drivers are conflicting with the Easy Automator device drivers. To solve this, please remove old drivers:

Right-click on the sandwich menu of SteamVR

Go to Developer -> Developer Settings

Scroll down to Reset -> Remove all SteamVR USB Devices. Confirm.
Additionally you might click Restart SteamVR.
If you’re still in doubt, please contact your system administrator or an IT store.
Initialize the Virtual Reality Environment #
Ensure you have a valid RoboDK file set up with a robot, Tool TCP, and reference frame.
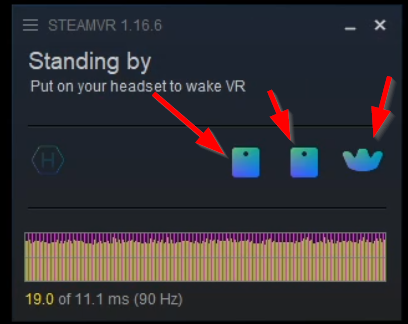
Turn on the VR system. After the first installation, you may need to go through a basic room setup in SteamVR. Just click through the prompts (standing only, calibrate floor, etc.). These steps are mostly irrelevant for this process, but completing them prevents them from reappearing next time.
Check the Laser Box Connection #
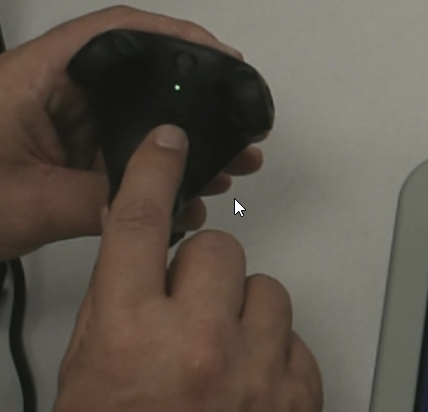
Once the VR system is turned on, press the button on the base station to activate it. The LED will light up, indicating it is working.
The VR system can work with one base station, but using two ensures that the tracker remains visible from different angles, avoiding any loss of connection.
If the connection is lost (the LED will blink), adjust the base stations to re-establish visibility with the tracker.
You can click through the room setup section with default values (pls. see our video on the top of this article).


