Start Using the Easy Automator App #
Launch Easy Automator and enter your license key. This step is essential for activating the software and accessing the latest updates.
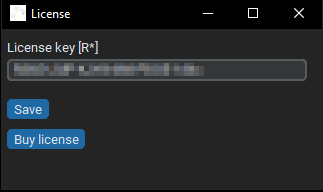
The software will prompt you to update when new versions are available. Follow the instructions to keep your software up to date with the latest features.

Start Recording #
Once everything is set up, begin the recording process. Hit “Start recording”
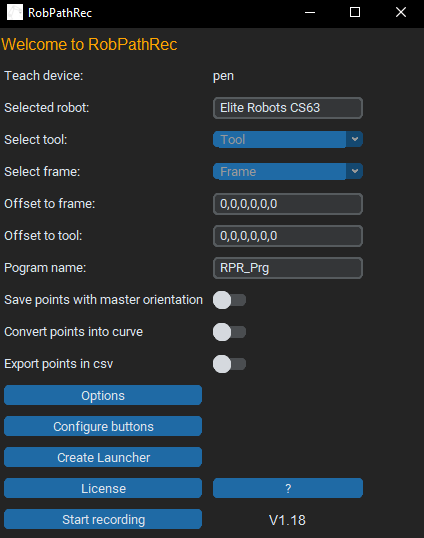
Position the pen at the origin point and press a button. To avoid any misbehavior and/or sudden recording of other points we recommend using a MoveL hardware button or you can use the Single pose – MoveL soft button on the software GUI.
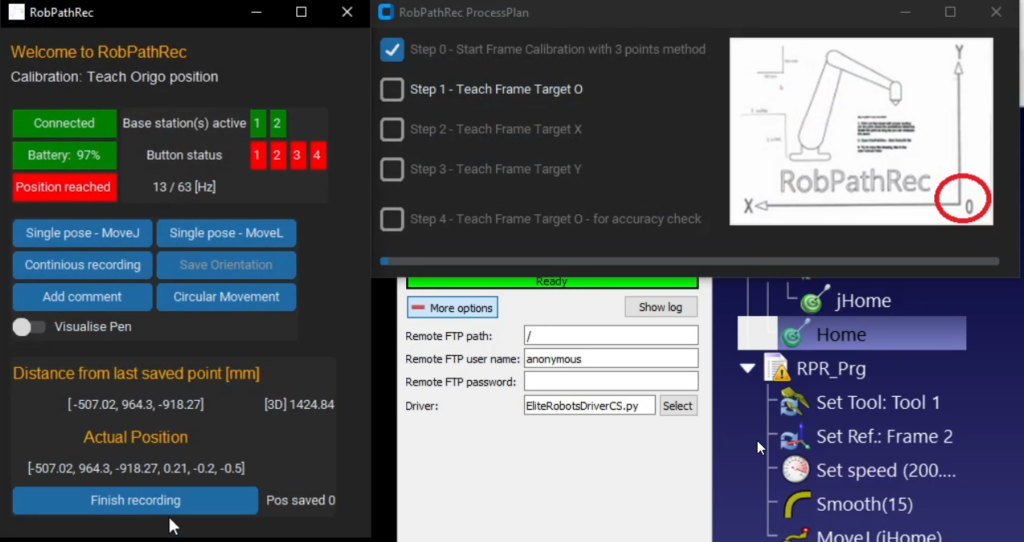
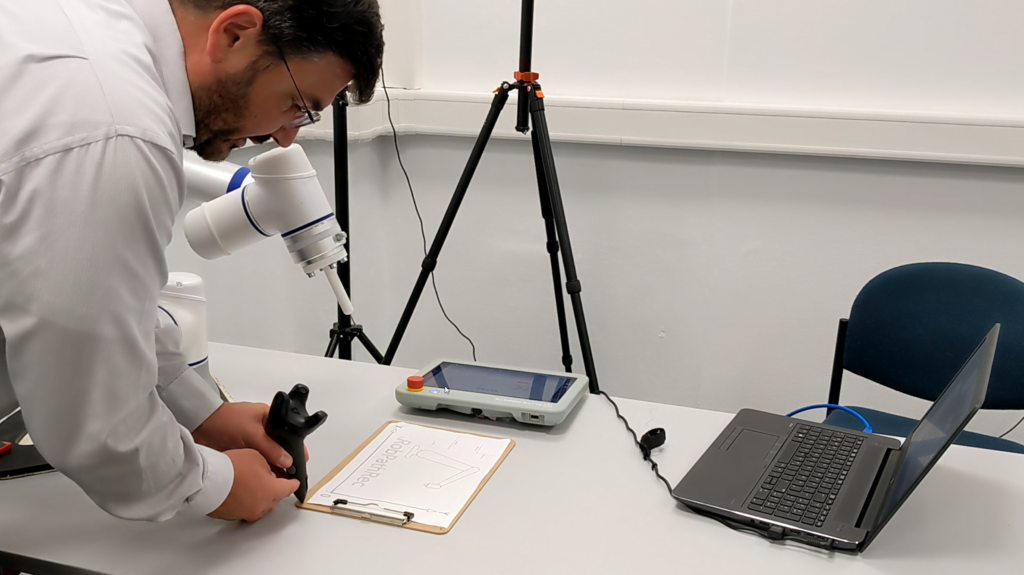
Move to the X-axis point, press the second button, and then to the Y-axis point, pressing the third button.
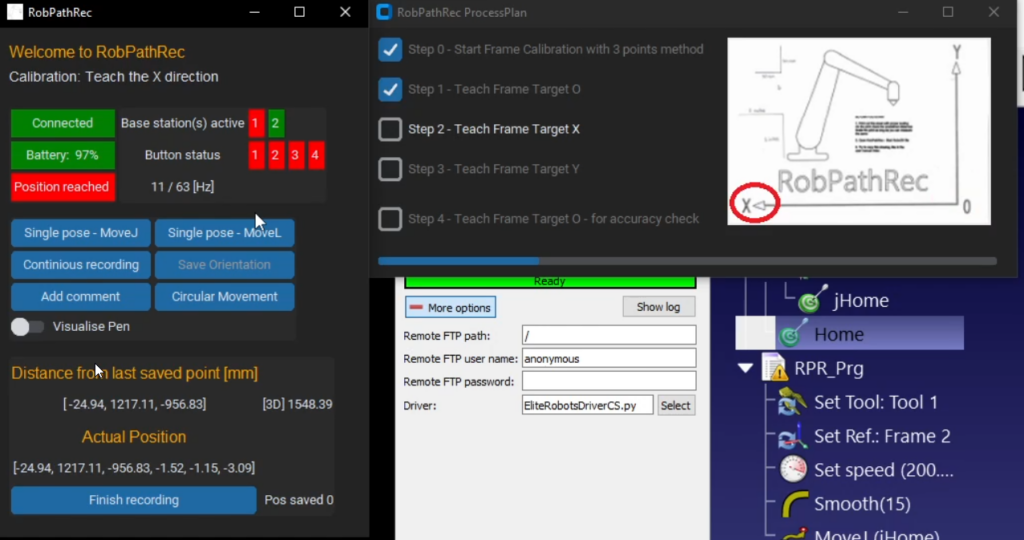
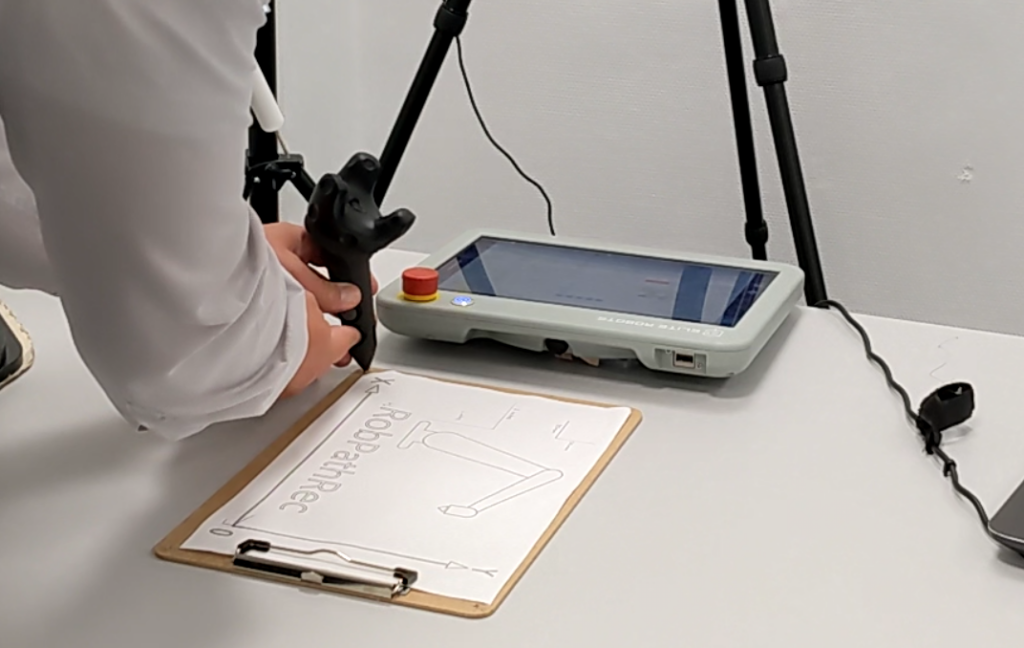
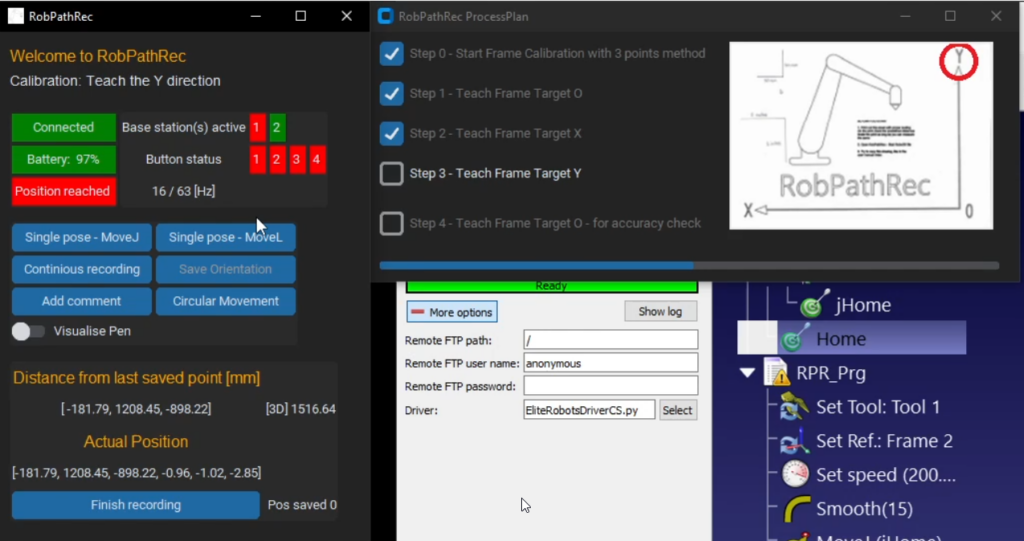

The robot will now follow the tool’s movements in the virtual space, allowing for precise task execution.
Check for Accuracy #
After recording, the software will display any deviations from the expected position (e.g., 2.2mm). Ensure that these values are within acceptable limits for your project. If the deviation should be more than 5 mm, you will be automatically promoted by Easy Automator.
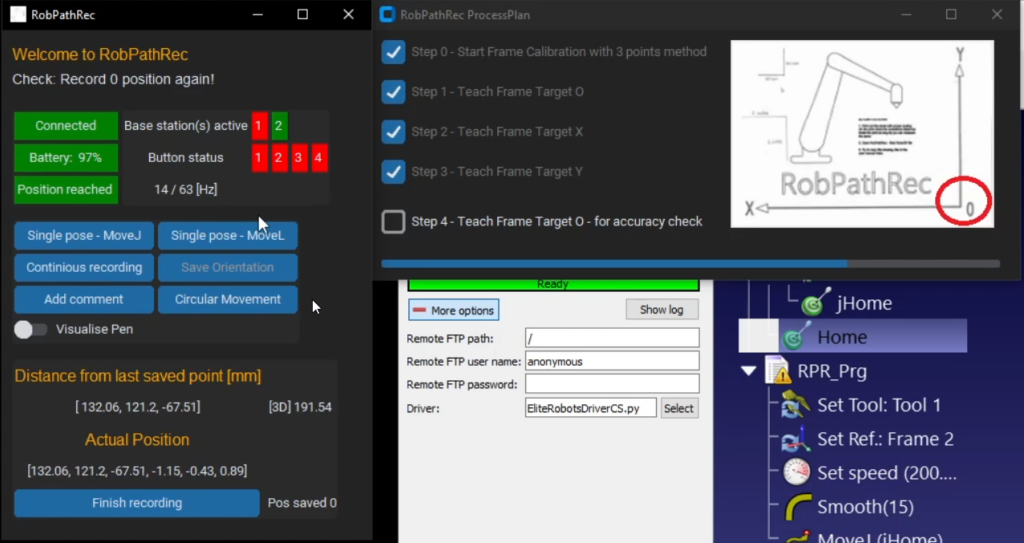

Now that your VR environment is set up, you can proceed to record and simulate complex robotic movements with precision using Easy Automator. This setup ensures that your tasks are accurately tracked and repeatable.
Visualize Pen #
In some cases, it can be a helpful feature to see the Easy Automator Teach Pen during the recording. You can toggle the switch to enable the visualization.
In case the robot cannot reach the pen anymore, the pen still stay visualized, but the robot will not follow the movements on the screen anymore.
Once the pen comes back into the reach of the robotic arm, the robot will “catch” it and start to follow the pan again.


