Easy Automator App v2.0 #
What’s new? #
In this version there are no new features are added but the brand was finally changed from RPR – RobPathRec to Easy Automator. This depends on a new folder structure.
Below you can find the guide for the recommended installation.
Installation guide for the Easy Automator v2.0 #
Preparations #
Create a complete backup of your existing installation.
Up to RobPathRec 1.18 the installation path is C:\RoboDK\RobPathRec\robpathrec
It is recommended to create a complete copy of the complete folder. Especially the folderC:\RoboDK\RobPathRec\robpathrec\config
is important, as in this folder you can find your settings.
License #
After a successful upgrade, you will need to enter your existing and valid license key again. Either you can copy it after starting the v1.18 or earlier and click the License Button
or you might open your Easy Automator dashboard.
Uninstall the old RobPathRec App #
To have an absolutely clean installation, now you can completely remove / uninstall the RobPathRec app. If you skip this step, you will still have the RobPathRec 1.18 launcher and the new Easy Automator 2.0 launcher on your system.
The danger of this: RobPathRec and Easy automator are using the same shared components. That means, if you uninstall later the RobPathRec app, you will remove some shared resources, like SteamVR, which is essential for the usage of Easy Automator as well.
Download the installator file #
As ususal the installator file can be downloaded for free here: https://store.easy-automator.com/product/easy-automator-app/.
The file can be accessed from your dashboard and is appr. 2.0GB big.
Please extract the zip file.
Start the installation #
Double klick the exe file and wait for the start of the installation. It might take a while.
On some systems a Microsoft Defender message might pop up. If it is on your system so, please click More info
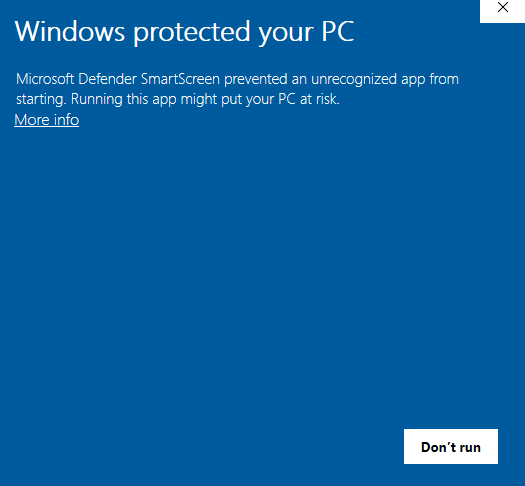
after this please click Run anyway

The installer checks automatically, if the RoboDK with the version is installed on the std. path (C:\RoboDK). Please click OK.

As next please accept our license agreement.

We recommend installing our support tools and Microsoft DirectX End-User Runtime.

Important note #
In the next step you might want to check the option: “Reset configuration to factory defaults. (recommended for new installations)”
You should check this anyway, as in this case this will be a fresh and new installation. In a later step you will be able to restore your previous settings, like button config, startup configuration, saved manual tools etc.

The new installation #
After a successful installation you will find the new Easy Automator folder in your Start Menu

Restoring your previous settings #
As mentioned above, you can restore your previous settings. Unfortunately it must be done manually, but it is not complicated.
Please navigate to the backup of the RobPathRec v1.18 and go in into the folder: RobPathRec/robpathrec/config

You might want ot copy the the following files:
- BtnFunc.csv
- CalibPos.txt
- cfg_penoffset.txt
- RPR_config.csv
Now please navigate to the fresh installation folder:C:\RoboDK\RPR\EasyAutomator\config
and you can paste the copied files into this folder.
Fixing the output folder #
Now open the RPR_config.csv with a text editor (IMPORTANT: MS Excel, or any other spreadsheet calculation application can break the file, so please Notepad or even better Notepad++.

Please modify the output folder path to C:/

What if you miss this step? #
If you miss the step out_dir; C:/ the Easy Automator app will search for your old output directory. If you removed it during the installation of the Easy Automator app, the path will be not available and you might see a failure message like this:

Starting the new version and setup the outpur directory #
Now you can start over with the new Easy Automator app.
Please make sure, as always, Steam VR is running, and a RoboDK station with a robot, tool and frame is opened.
Enter the license key
and hit the Options button


Select the new output directory (std. C:\RoboDK\RPR\EasyAutomator\output)

Hit “Select Folder” and save the Options in the Easy Automator app.
Now you are ready to go to use productive Easy Automator, as usual.


